
The YouTube script template I'd use if I were starting today
I’ve edited more than 1,000 videos for brands and creators. The easy ones to edit had one thing in common, and it wasn’t the footage. It was the script.
The hard ones arrived as a single Google Doc: a wall of paragraphs, no idea where one part ended and the next began, and nothing about what should be on screen. I’d guess the pacing, cut a first version, and then spend two more rounds fixing what the creator had pictured but never written down.
The easy ones arrived in scenes. Each part had a clear job, a rough length, and a note like “screen recording of the export settings” next to the line that needed it. The first cut was usually close to right.
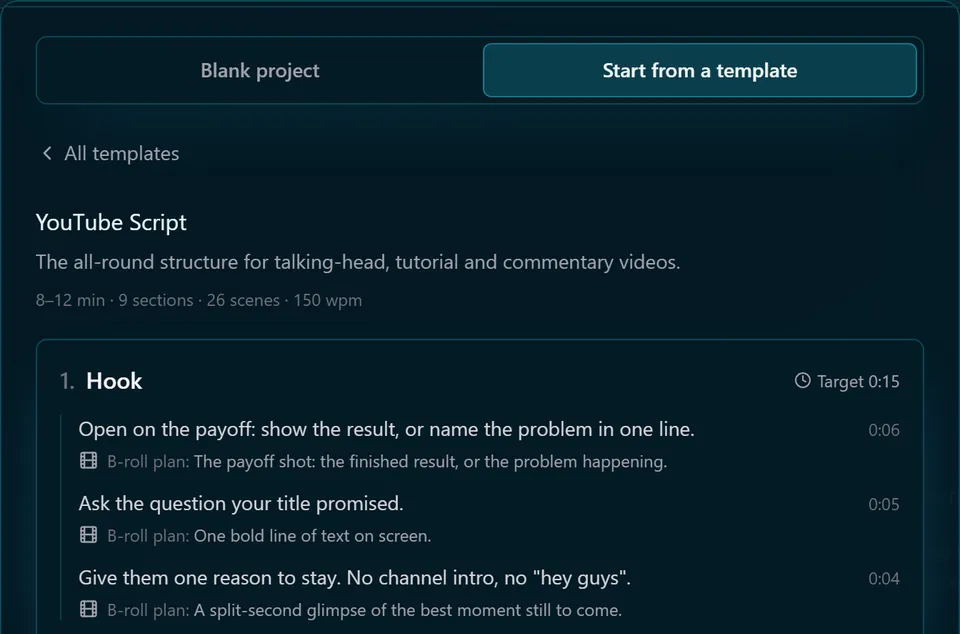
This post is that second kind of script, turned into a template. It works for talking-head videos, tutorials, and commentary, anything roughly 8 to 12 minutes long. You can open it free in Syntale, or copy the plain-text version at the end into whatever you write in now.
Why scenes instead of one document
A video isn’t read top to bottom like an essay. It’s watched as a sequence of moments, and each moment has three parts: what’s said, what’s seen, and how long it lasts.
A document only captures the first. Writing in scenes forces you to decide the other two before you record, which is when they’re cheapest to change. It also gives you three things for free:
- Your editor knows where every cut is. Scene boundaries are the edit points.
- Every line gets a visual. If you can’t think of what’s on screen, the line is usually too abstract.
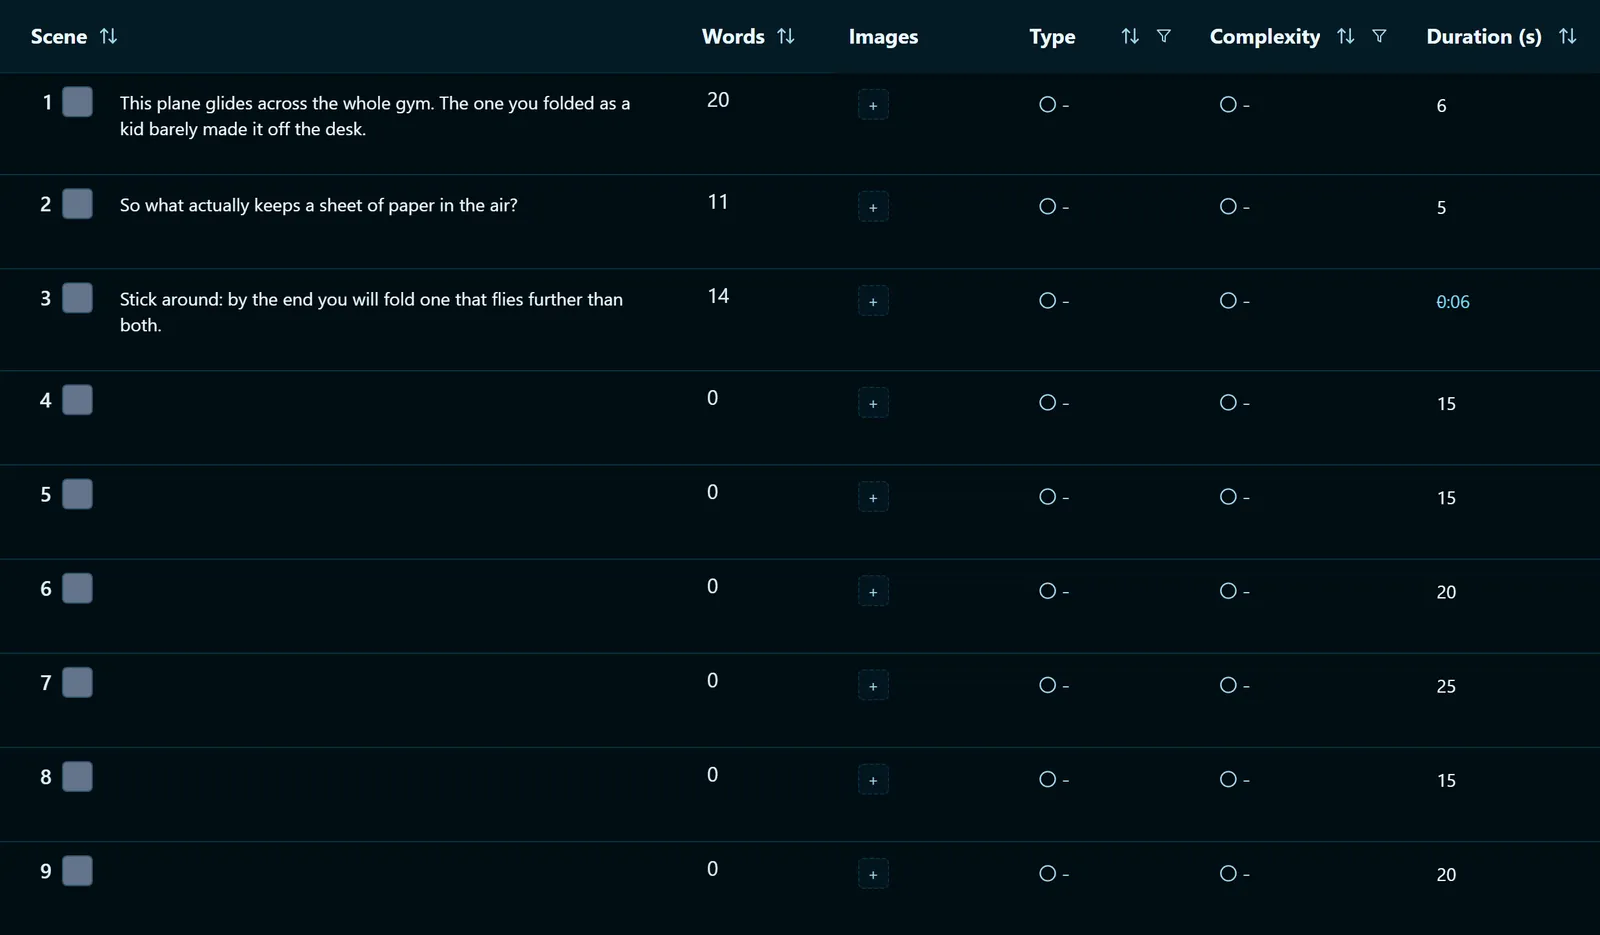
- You can see the video running long before you film it. Each scene has a target length, so a 4-minute “Point 2” stands out on the page instead of in the edit.
The template, scene by scene
Nine scenes, about 10 minutes at a normal speaking pace. The target lengths are starting points, not rules. The order is what matters.
1. Hook (about 15 seconds)
The only job of the first 15 seconds is to answer one question: why should I keep watching?
Do it by showing the result, naming the problem, or asking the question your title promised. Don’t introduce yourself, the channel, or what you’re going to talk about “today”. Viewers decide in seconds, and none of that helps them decide.
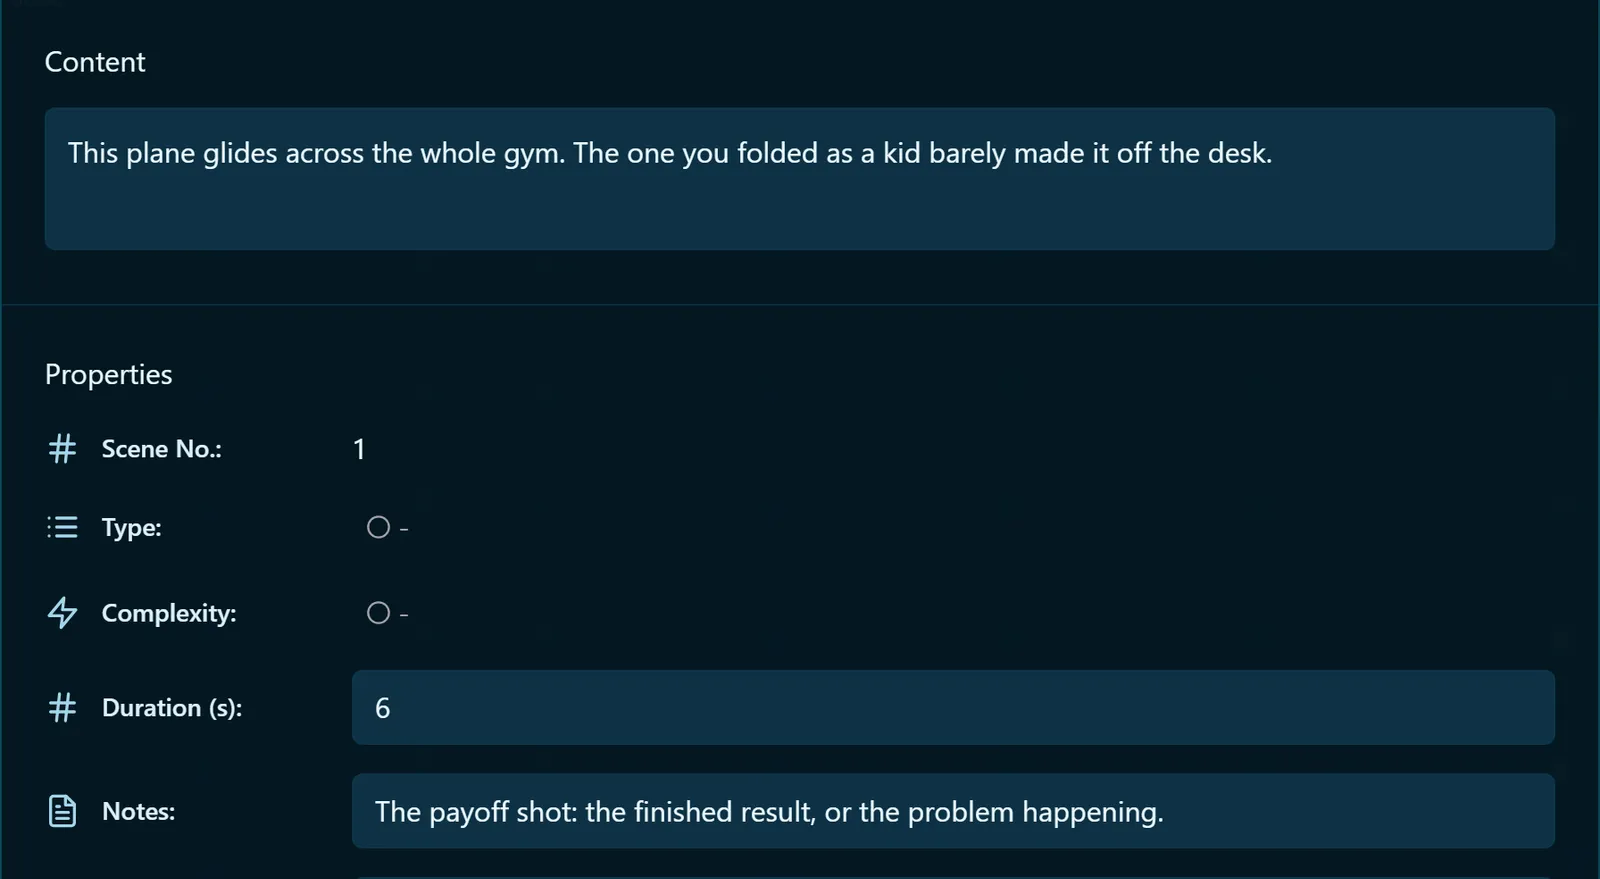
On screen: the payoff shot. The finished result, the problem happening, or one bold line of text.
2. Promise (about 30 seconds)
Say exactly what they’ll know or be able to do by the end. If you need to say why you’re the one to show them, keep it to one sentence.
On screen: quick flashes of moments from later in the video. This works like a trailer: it proves the promise is real.
3. Why it matters (about 1 minute)
The stakes. What goes wrong without this, or the mistake most people make. Stay concrete here: one specific example beats three general claims.
On screen: the mistake in action. Screenshots, comments, a “before” shot.
4. Point 1 (about 2 minutes)
One idea per scene. State it in a single sentence, show it, then give one specific example.
If you find yourself reaching for a second example, you may have two points. Split the scene.
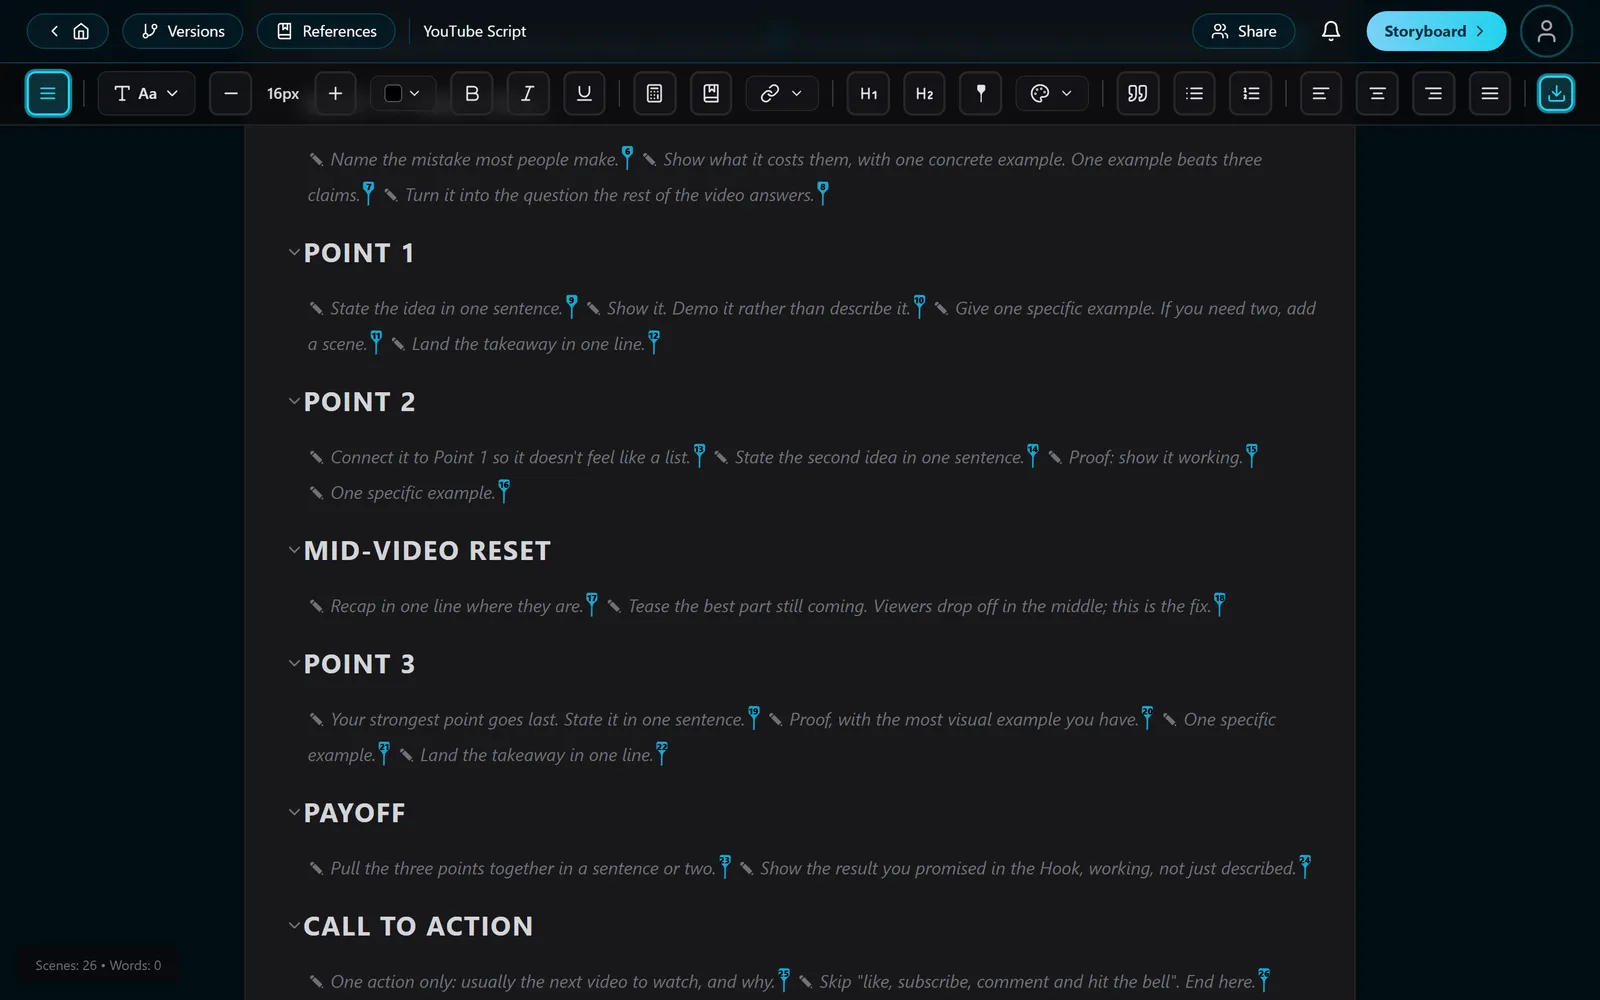
On screen: whatever proves the point. A demo, a screen recording, a close-up, a diagram.
5. Point 2 (about 2 minutes)
Same shape as Point 1: claim, proof, example. Open with a line that connects it to the previous point, so the video feels like an argument building rather than a list being read.
On screen: a different kind of visual from Point 1. If that was a screen recording, use a close-up or a graphic here. Changing the visual type is one of the easiest ways to hold attention.
6. Mid-video reset (about 20 seconds)
The middle of a video is where viewers drift. A short pattern break brings them back: tease the best part still coming, or recap in one line where they are.
On screen: change something. A new angle, a location, a full-screen graphic, or a quick cutaway.
7. Point 3 (about 2 minutes)
Your strongest point goes last, with your most visual example. This is the part people should remember when the video ends.
On screen: your best footage.
8. Payoff (about 1 minute)
Pull the three points together into the result you promised in the Hook. Show it working, don’t just describe it. This scene is why the Hook was allowed to promise something.
On screen: the result from the Hook, now fully explained. The finished thing, the “after” shot.
9. Call to action (about 20 seconds)
One action. Usually that’s the next video to watch, and why it follows from this one. “Like, subscribe, comment and hit the bell” is four actions, and people take none of them.
On screen: leave about 20 seconds of clean background for YouTube’s end screen elements, so the video and channel cards don’t cover anything important.
How long should each part be?
A useful rule of thumb is about 150 spoken words per minute. A 10-minute video is roughly 1,500 words. Fast talkers land closer to 170 words per minute; slow, careful explainers closer to 130.
Estimate each scene, not just the total. The whole script being 1,500 words tells you very little. Point 2 being 600 words when Point 1 is 250 tells you exactly where the video will drag.
Three habits that make the edit faster
These matter more than the template itself.
Read it out loud before you record. Every line you stumble on, the viewer will stumble on too. Rewrite until you can say it without looking. Written sentences and spoken sentences are different things; short sentences and contractions help.
Write the visual next to the line, not after. “Talk about the settings” isn’t a shot. “Close-up of the settings panel, cursor on Export” is. If you plan it while writing, you film it. If you plan it after recording, you scrub hours of footage looking for a shot that was never filmed.
Lock the script before you record. Every change after the camera stops means pickups, re-records, or awkward cuts. Change as much as you like on the page; it’s free there.
Get the template
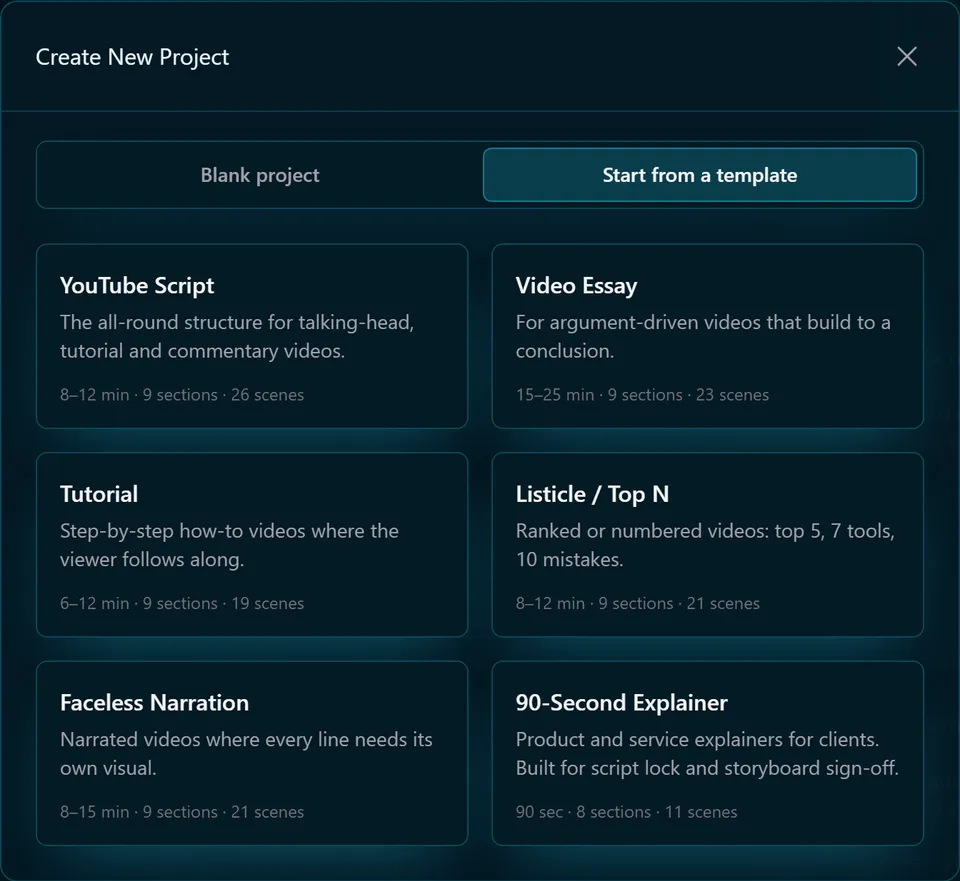
In Syntale (free): the template opens as a project with all nine parts, split into 26 short scenes, the guidance above in each scene, a B-roll prompt next to each one, and target lengths per scene. You write over the guidance, and it never appears in your exported PDF.
Open the YouTube script template in Syntale →
There are five more templates in the same place: video essay, tutorial, listicle, faceless narration, and a 90-second explainer.
In any document: copy this into Google Docs, Notion, or wherever you write now.
YOUTUBE SCRIPT TEMPLATE (~10 min, ~1,500 words)

1. HOOK (0:15)
Why should they keep watching? Show the result, name the problem,
or ask the question the title promised. No intro.
On screen:

2. PROMISE (0:30)
What they'll know or be able to do by the end.
On screen:

3. WHY IT MATTERS (1:00)
The stakes, or the mistake most people make. One concrete example.
On screen:

4. POINT 1 (2:00)
Claim in one sentence. Show it. One example.
On screen:

5. POINT 2 (2:00)
Same shape. Open with a line that connects to Point 1.
On screen:

6. MID-VIDEO RESET (0:20)
Tease what's coming, or recap in one line.
On screen:

7. POINT 3 (2:00)
Strongest point, most visual example.
On screen:

8. PAYOFF (1:00)
The result you promised in the Hook, shown working.
On screen:

9. CALL TO ACTION (0:20)
One action: the next video, and why.
On screen: leave 20 seconds for end screen elements.
If you use it, I’d like to hear what you changed. The best version of this template is the one that fits how you actually film.